 English
 Español
 日本語
日本語 عربى
عربى русский
-
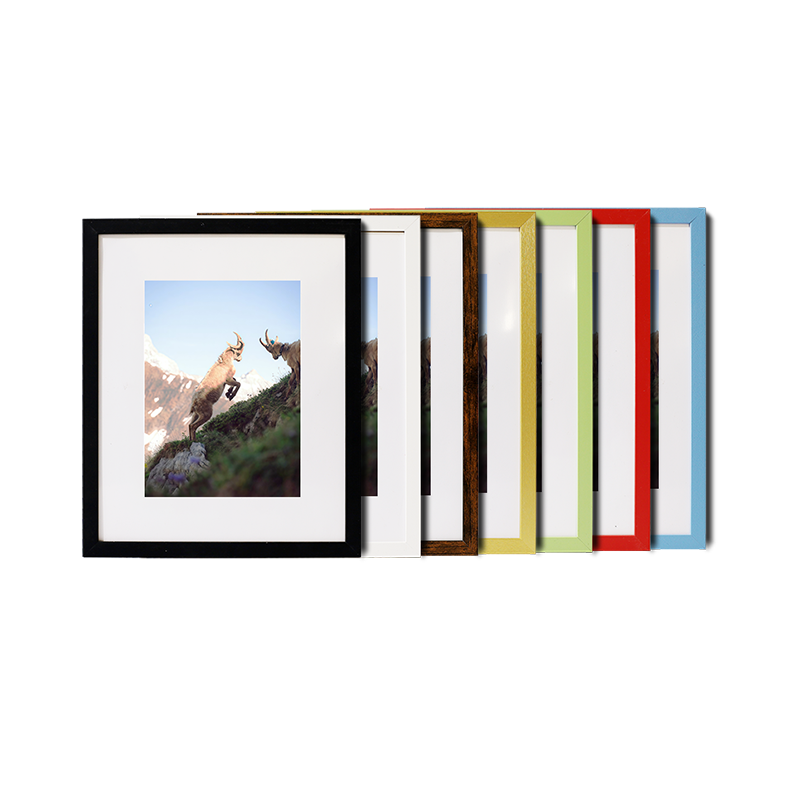
PVC Picture Frame
Sold by brand JinHuan

-
PVC Moulding
Sold by brand JinHuan

-
MDF Picture Frame
Sold by brand JinHuan

-
Iron Photo Frame
Sold by brand JinHuan

-
Plastic Injection Frame
Sold by brand JinHuan

-
Mirror
Sold by brand JinHuan

-
Glass Picture Frame
Sold by brand JinHuan

-
PS Picture Frame
Sold by brand JinHuan

-
Solid Wood Picture Frame
Sold by brand JinHuan

-
Aluminum Alloy Picture Frame.
Sold by brand JinHuan

Aluminum Alloy Photo Frames: Production and Display Tips
Jinhuan's professional manufacturing solutions empower your premium product production.
Will an Aluminum Alloy Photo Frame Crack?
Aluminum alloy photo frames are generally durable, but several factors can influence whether or not they may crack. Here are the main considerations regarding their durability:
· Material Composition:
Aluminum alloy is a combination of aluminum and other metals such as copper, zinc, or magnesium. The strength of the alloy depends on its composition. Higher-grade aluminum alloys can be more resistant to cracking, while lower-grade alloys may be more prone to damage.
· Impact Damage:
While aluminum alloy is lightweight and relatively strong, it is not impervious to impact. A heavy impact or dropping the frame from a significant height can lead to bending or cracking, especially along the edges or corners where the material is thinner.
· Temperature Extremes:
Aluminum alloy is susceptible to expansion and contraction due to temperature fluctuations. In environments with extreme heat or cold, the frame may experience stress that could cause small cracks over time. However, under normal indoor conditions, this is less likely to be an issue.
· Manufacturing Quality:
The quality of the production process can also affect the frame's durability. Poor craftsmanship or inadequate finishing may leave the frame more vulnerable to cracking under stress.
What is the Production Process of an Aluminum Alloy Photo Frame?
The production of aluminum alloy photo frames involves several key stages. Here is an outline of the typical production process:
1. Material Selection
The process begins with the selection of an aluminum alloy that meets the strength, weight, and aesthetic requirements. Aluminum alloy is chosen because of its lightweight nature and ability to be shaped easily, as well as its corrosion resistance.
2. Extrusion
Once the aluminum alloy is selected, it is heated to a specific temperature and then forced through a mold to create the frame's basic shape. This process, called extrusion, ensures that the frame has the desired dimensions and features, such as grooves for holding glass or a picture.
3. Cutting and Shaping
After extrusion, the aluminum pieces are cut to the required lengths and shaped into the frame's components. The cutting process involves specialized machinery to ensure precise measurements and clean edges. The frame's corners may be mitered or joined together depending on the design.
4. Surface Treatment
Once the frame is assembled, surface treatments are applied to enhance its appearance and durability. These treatments may include anodizing, which increases corrosion resistance and adds a decorative finish. Alternatively, some frames may undergo powder coating, which gives the frame a smooth and uniform color finish.
5. Assembly
The final step in the process involves assembling the frame. This includes inserting the backing material, placing the glass or acrylic panel, and securing the frame's back with clips or screws.
How to Arrange Multiple Aluminum Alloy Photo Frames on a Wall?
Arranging multiple aluminum alloy photo frames on a wall can enhance the overall aesthetic of a room. Here are a few tips on how to arrange them effectively:
· Plan the Layout:
Before hanging the frames, it's important to plan the layout. Consider the overall theme of the room and the number of frames you have. You can either align them in a straight row, create a grid pattern, or opt for a more free-form, gallery-style arrangement.
· Use a Measuring Tape:
For a symmetrical look, use a measuring tape to ensure equal spacing between frames. For example, leave a 2-4 inch gap between frames to maintain balance and consistency. This is especially useful for aligning frames in a grid or linear formation.
· Consider Frame Sizes:
Varying the sizes of the frames can create visual interest. Arrange larger frames in the center with smaller frames surrounding them, or scatter different-sized frames across the wall. However, make sure that the spacing remains even to avoid a cluttered look.
· Start with a Focal Point:
Begin arranging frames by choosing a focal point, such as the center of the wall or a piece of furniture. This can help guide your design and create a more cohesive look.
· Use Wall Hooks or Hanging Strips:
To avoid damage to the wall, consider using wall hooks or adhesive hanging strips that are rated for the weight of the frames. This will help ensure that the frames are securely mounted while also protecting the wall from unnecessary holes.
Your email address will not be published. Required fields are marked *
China Picture Frames Online Factory
Copyright © JinHuan Art & Craft Products Co., Ltd. All Rights Reserved.
